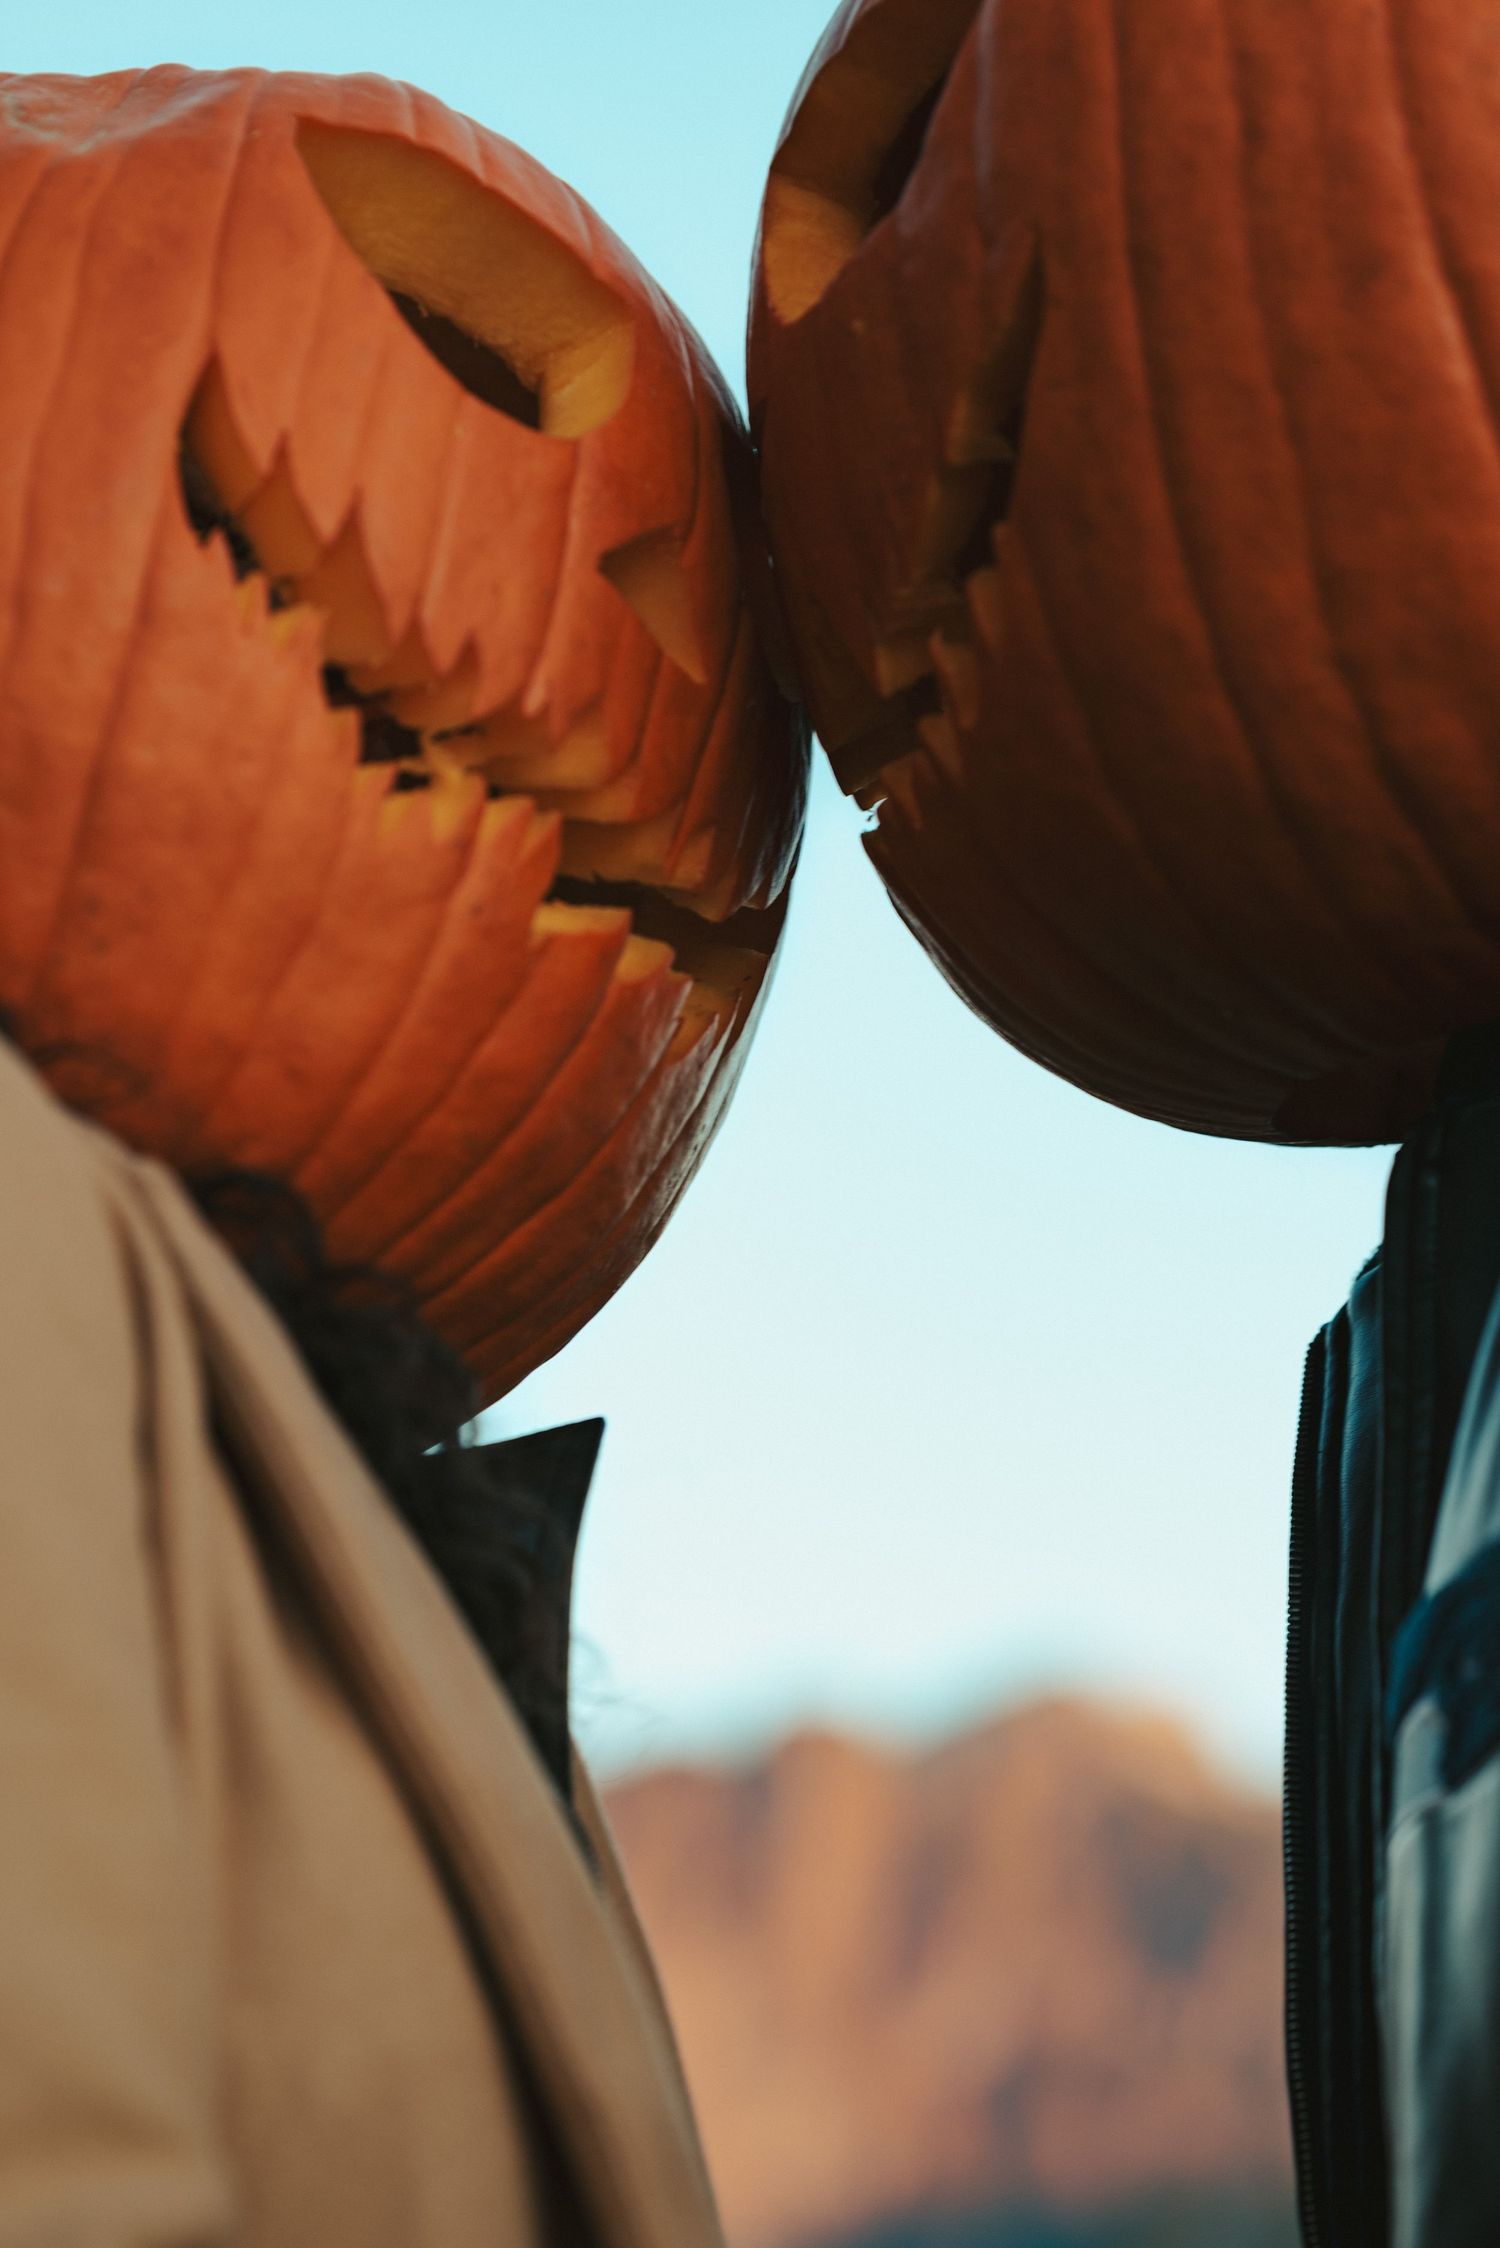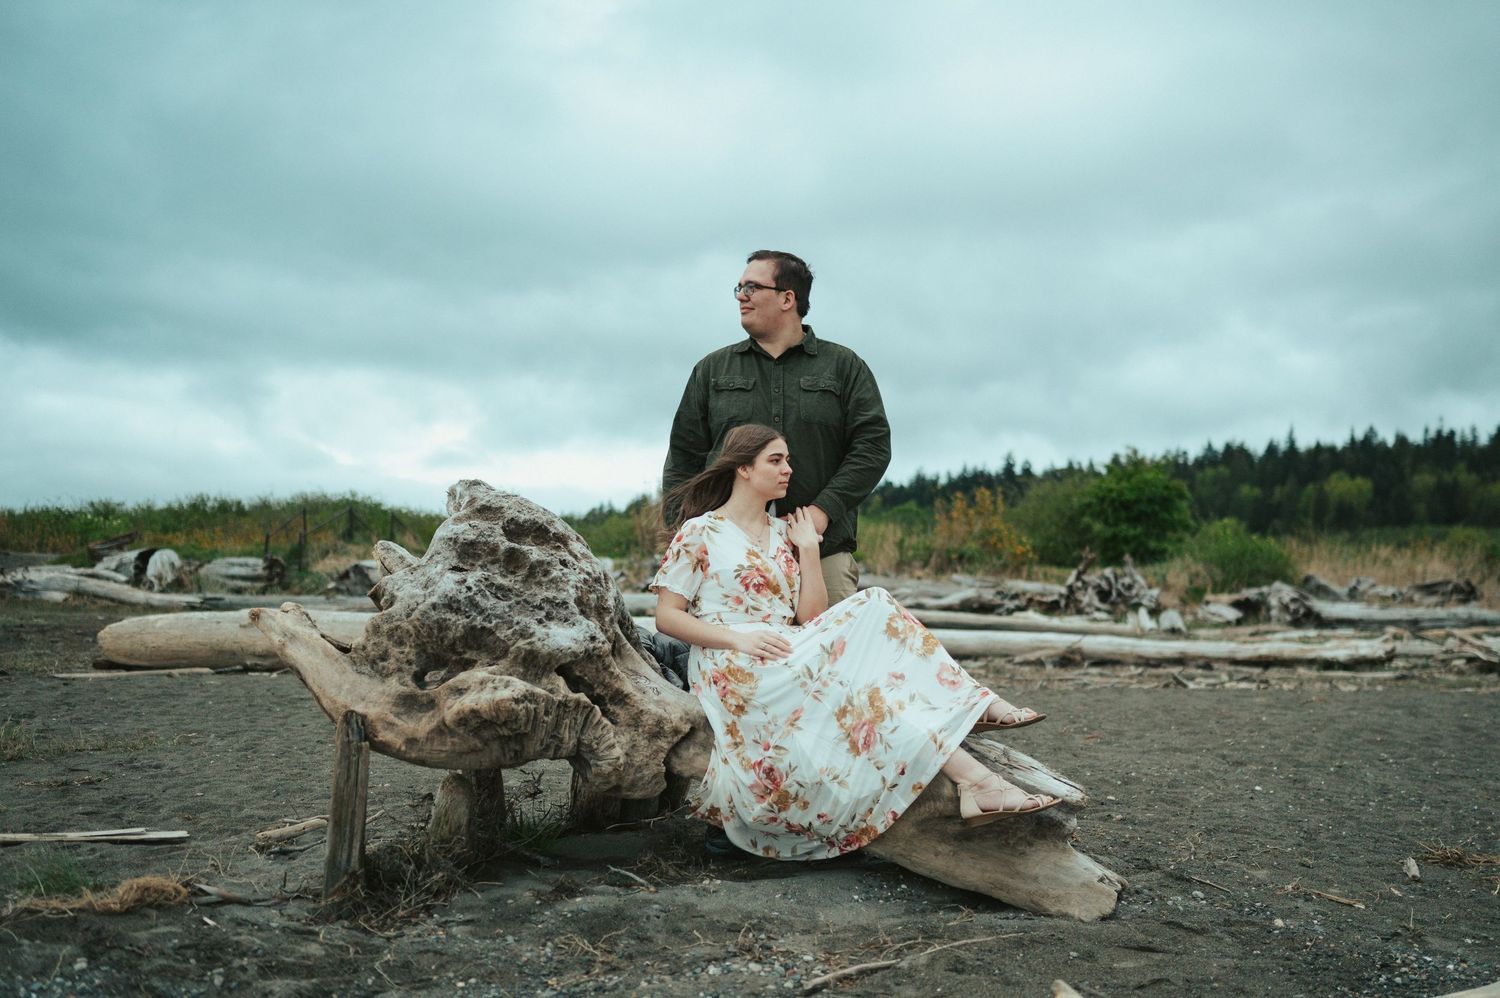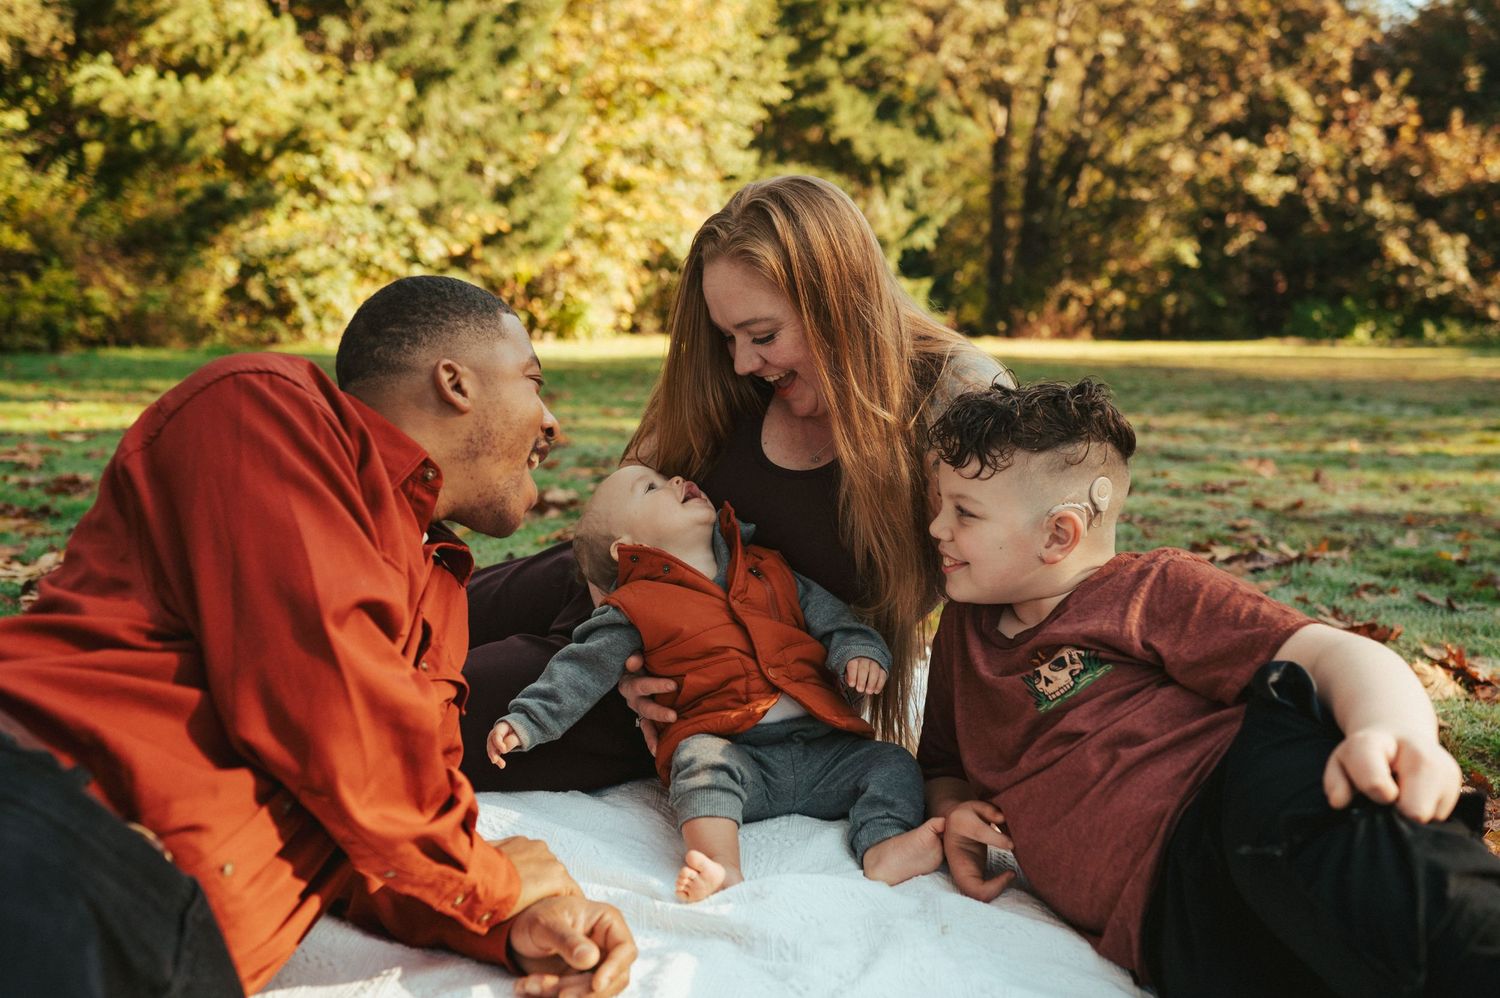
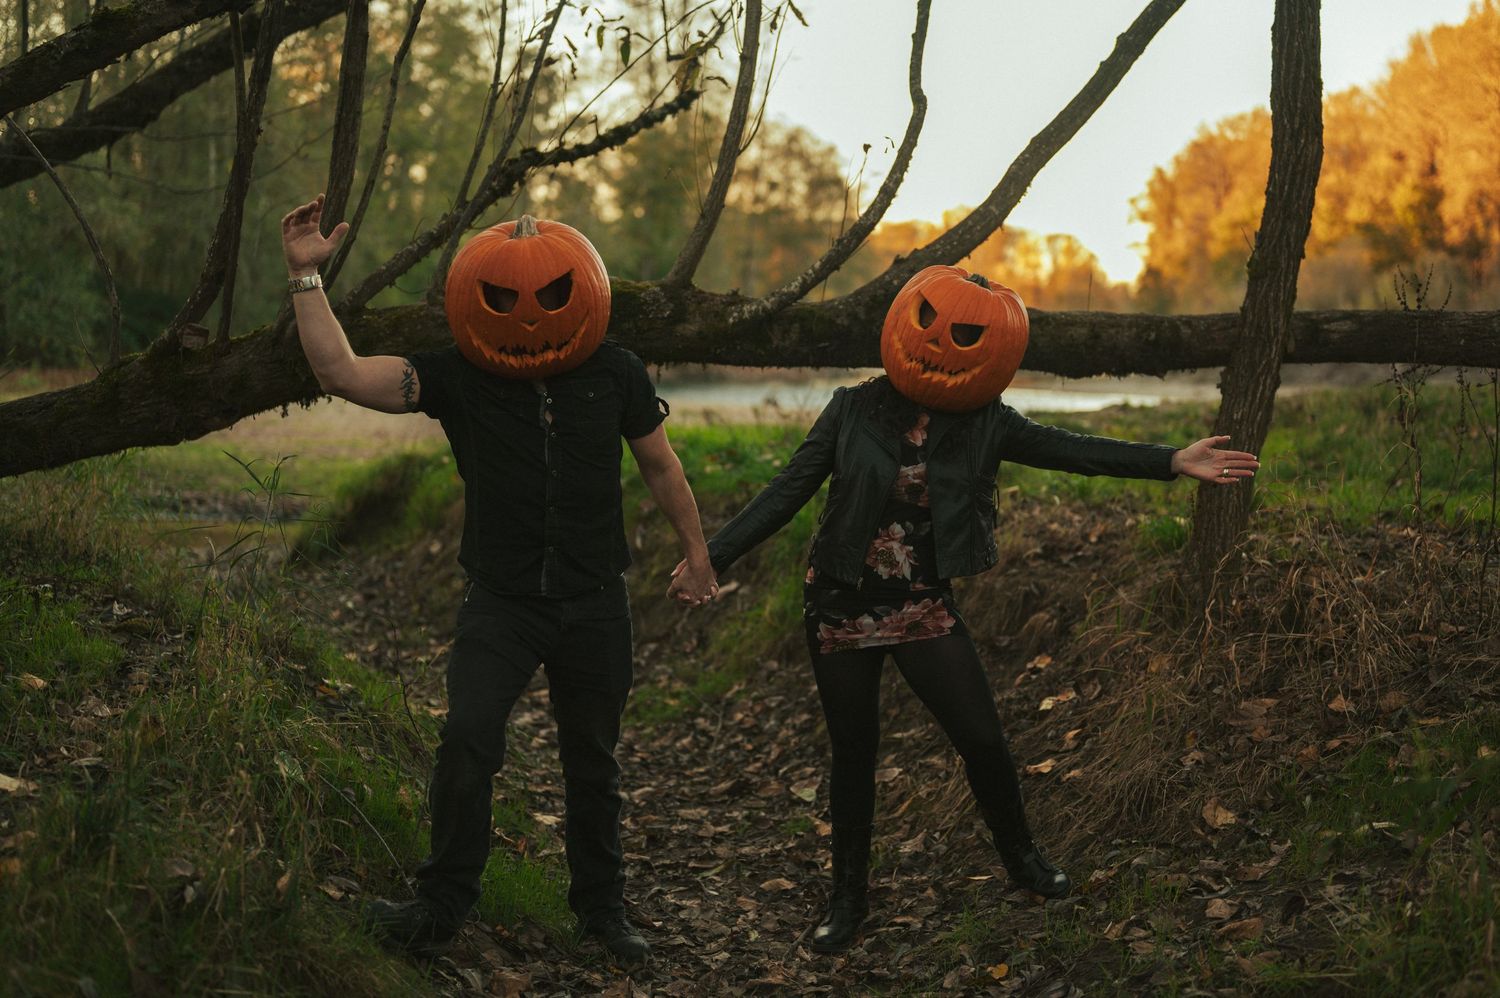
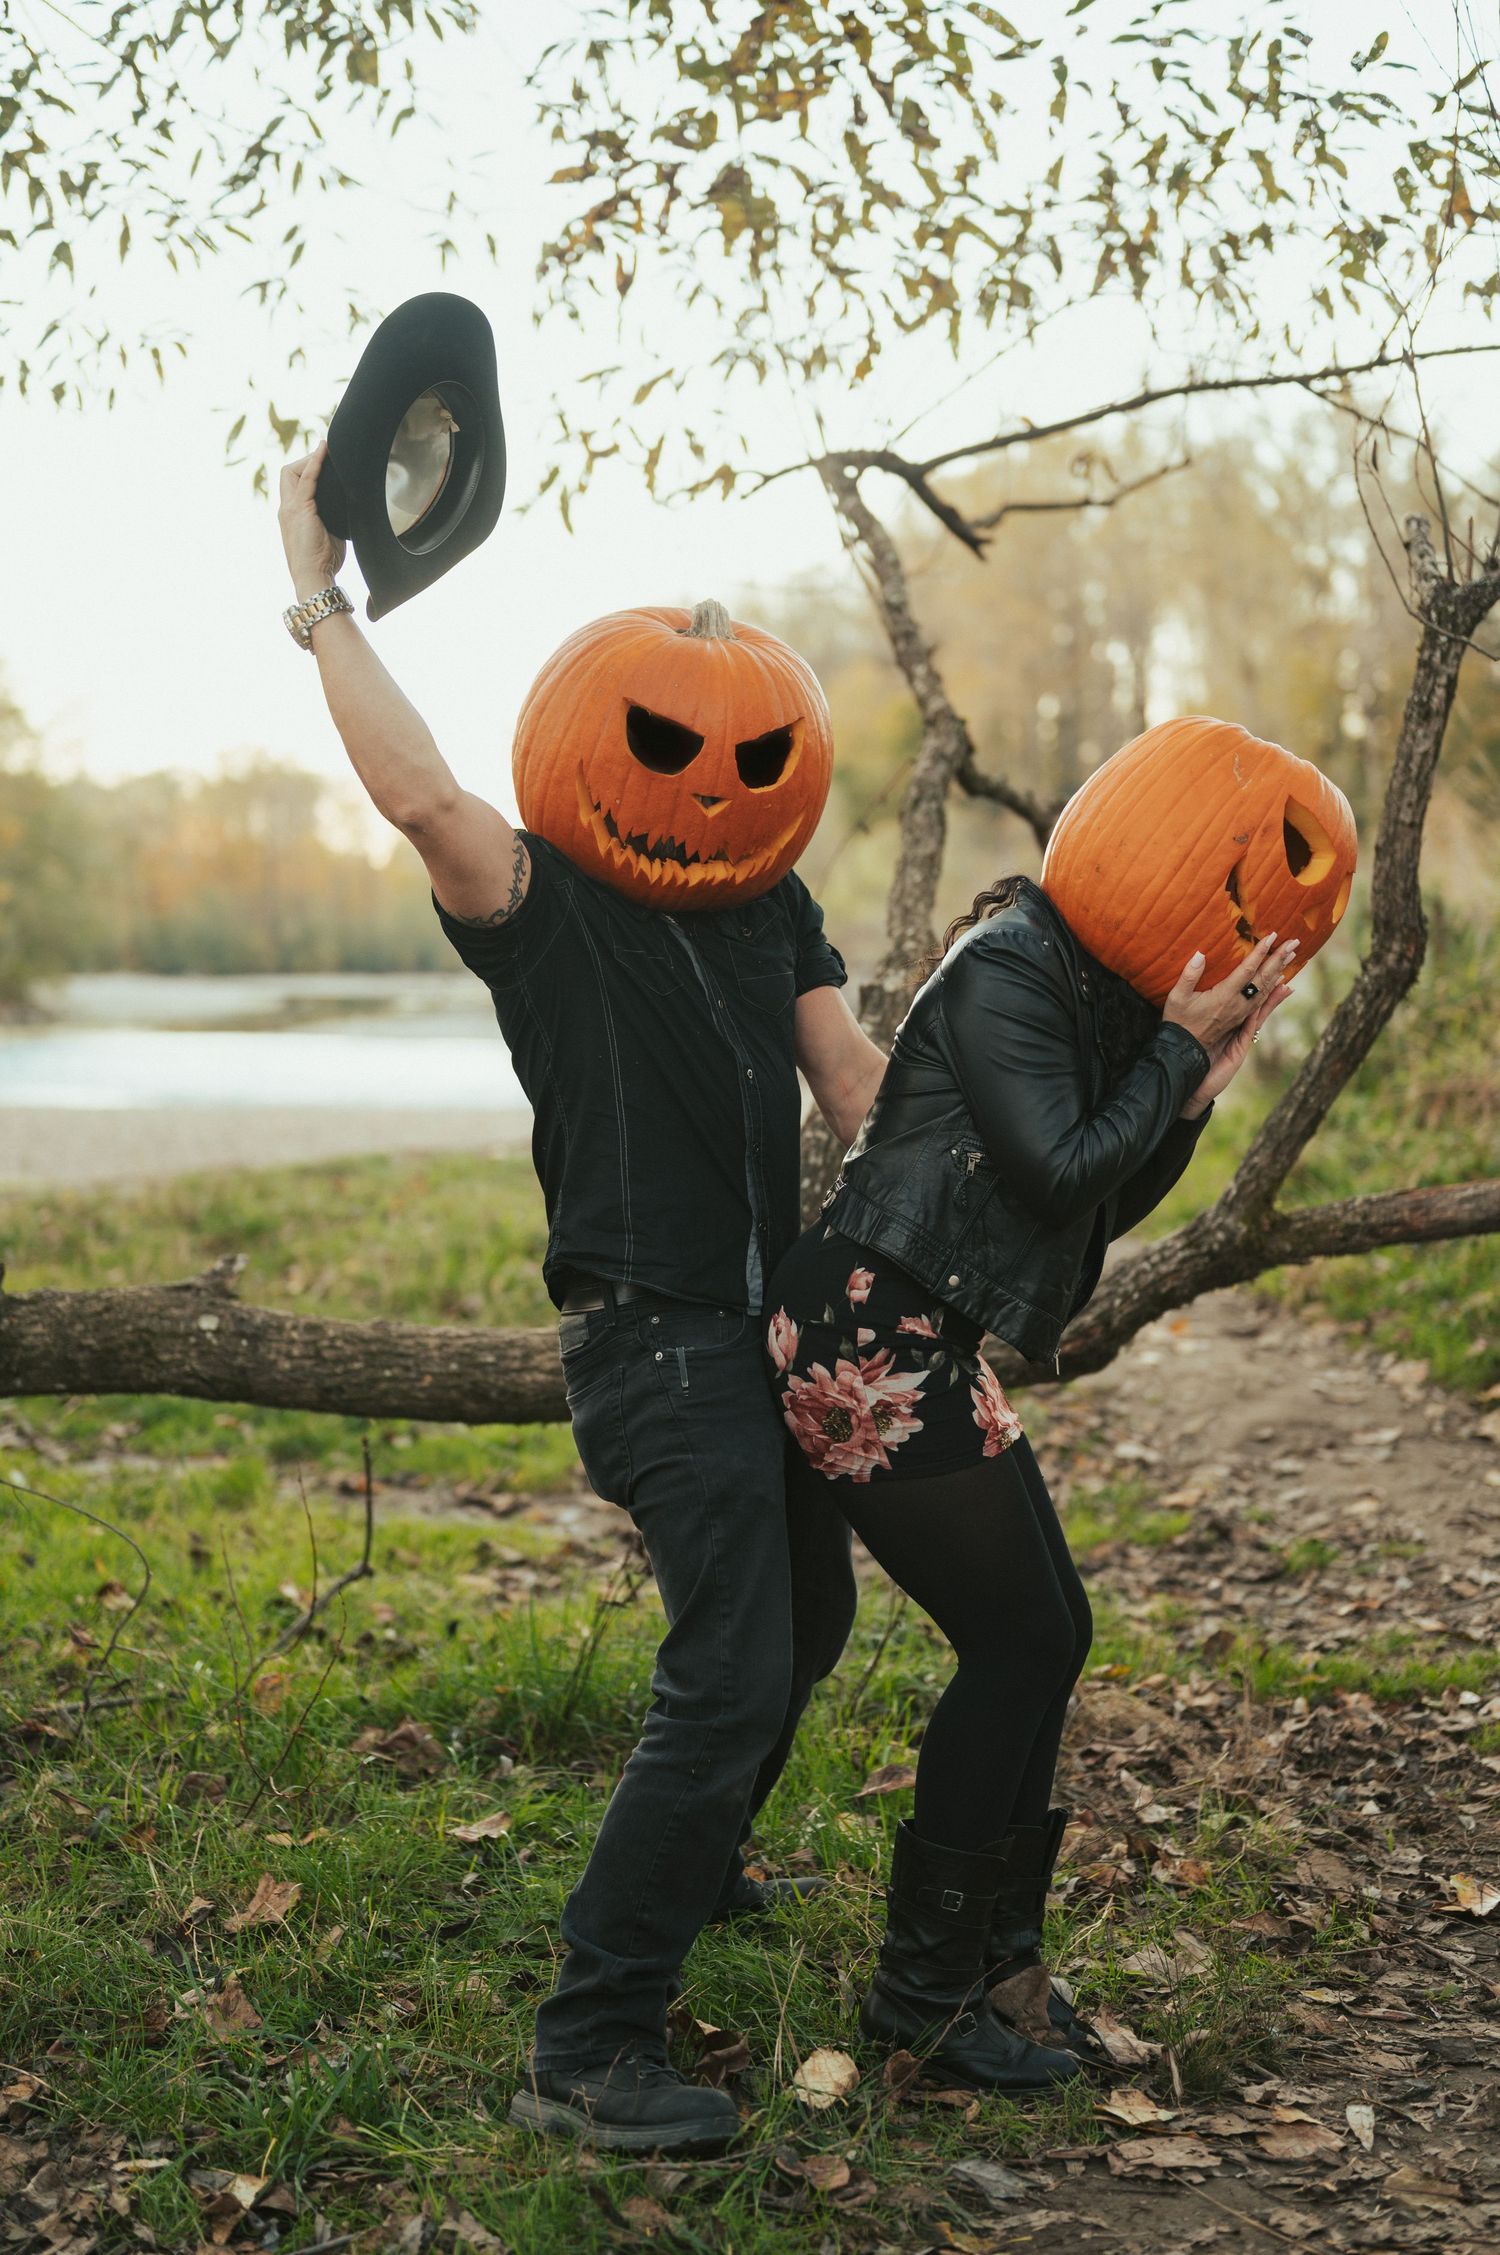
There are fall photos… and then there are Pumpkin Head photos — and yes, they are exactly as weird and wonderful as they sound. Here’s why you should ditch the ordinary and carve out some time (pun intended) for one this season:
1. It’s the Perfect Mix of Spooky + Silly
Sure, you could take normal fall portraits… but where’s the fun in that? A pumpkin head shoot lets you lean all the way into Halloween spirit while keeping it lighthearted. Think haunted-house-meets-rom-com vibes.
2. Instant Conversation Starter
Post one of these on your feed and watch the comments roll in. Friends will ask where you did it, strangers will save it for “next year,” and you’ll officially have the most unique seasonal photos around.
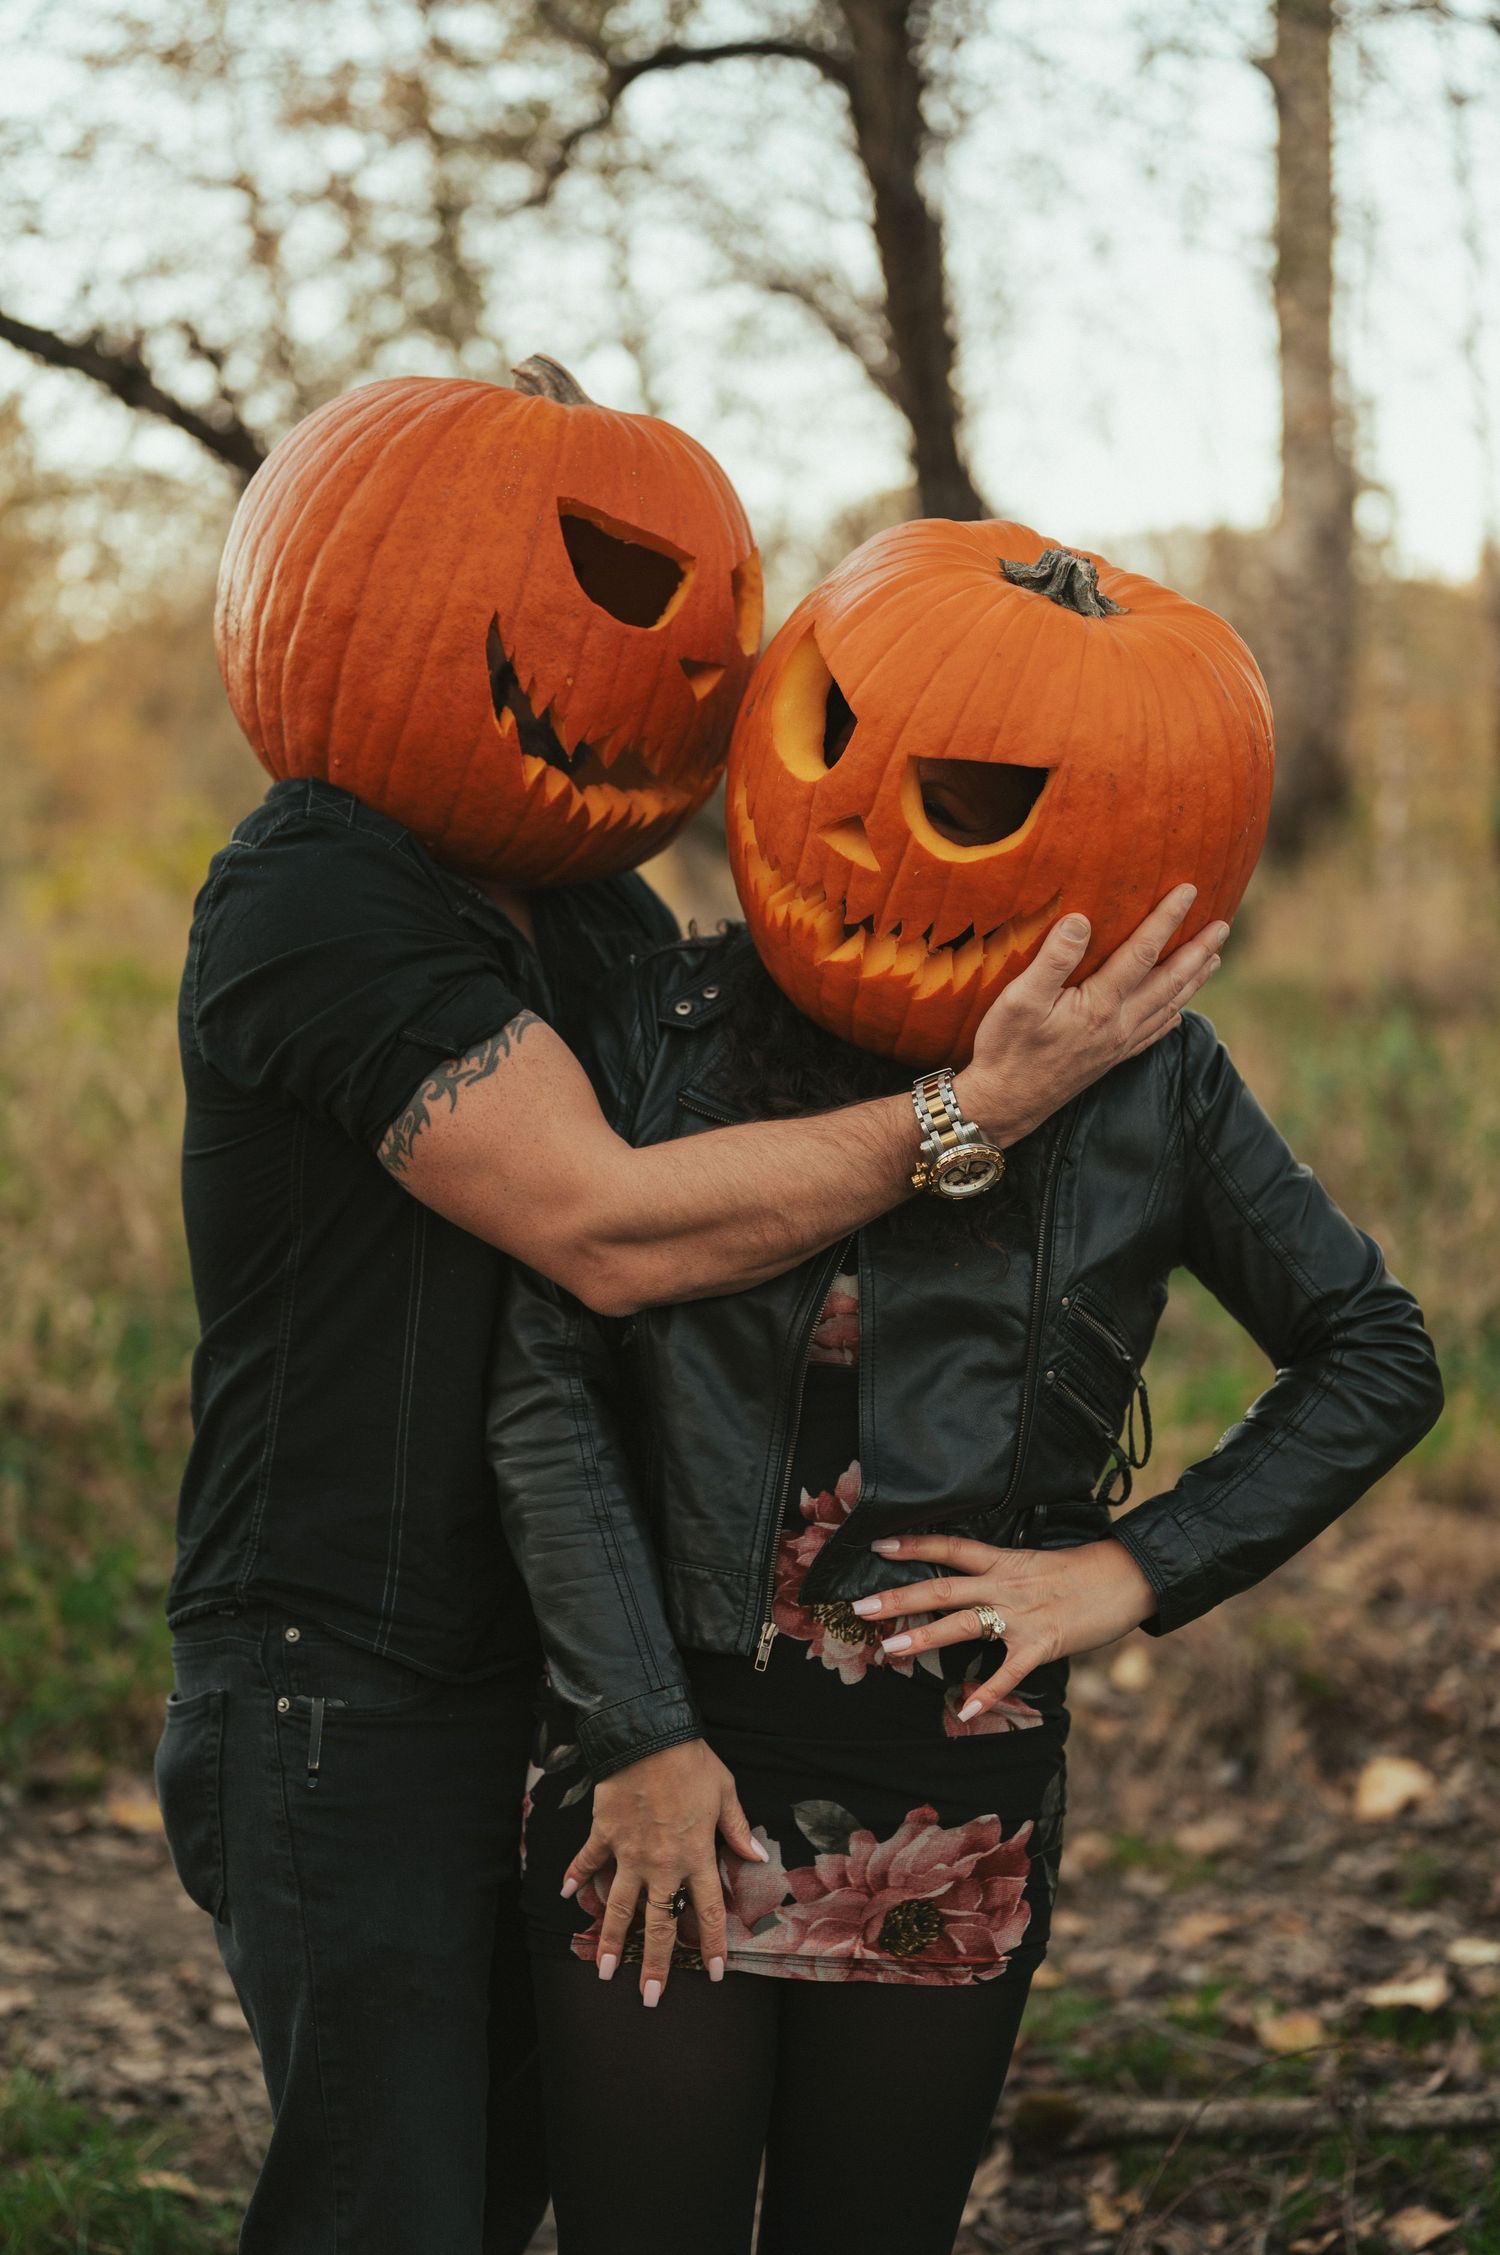
3. Epic Couples or Friends’ Photos
Pumpkin heads work for romantic shots, goofy bestie pics, or even family fun (yes, the kids can get in on it too). They’re the perfect combination of coordinated and chaotic.
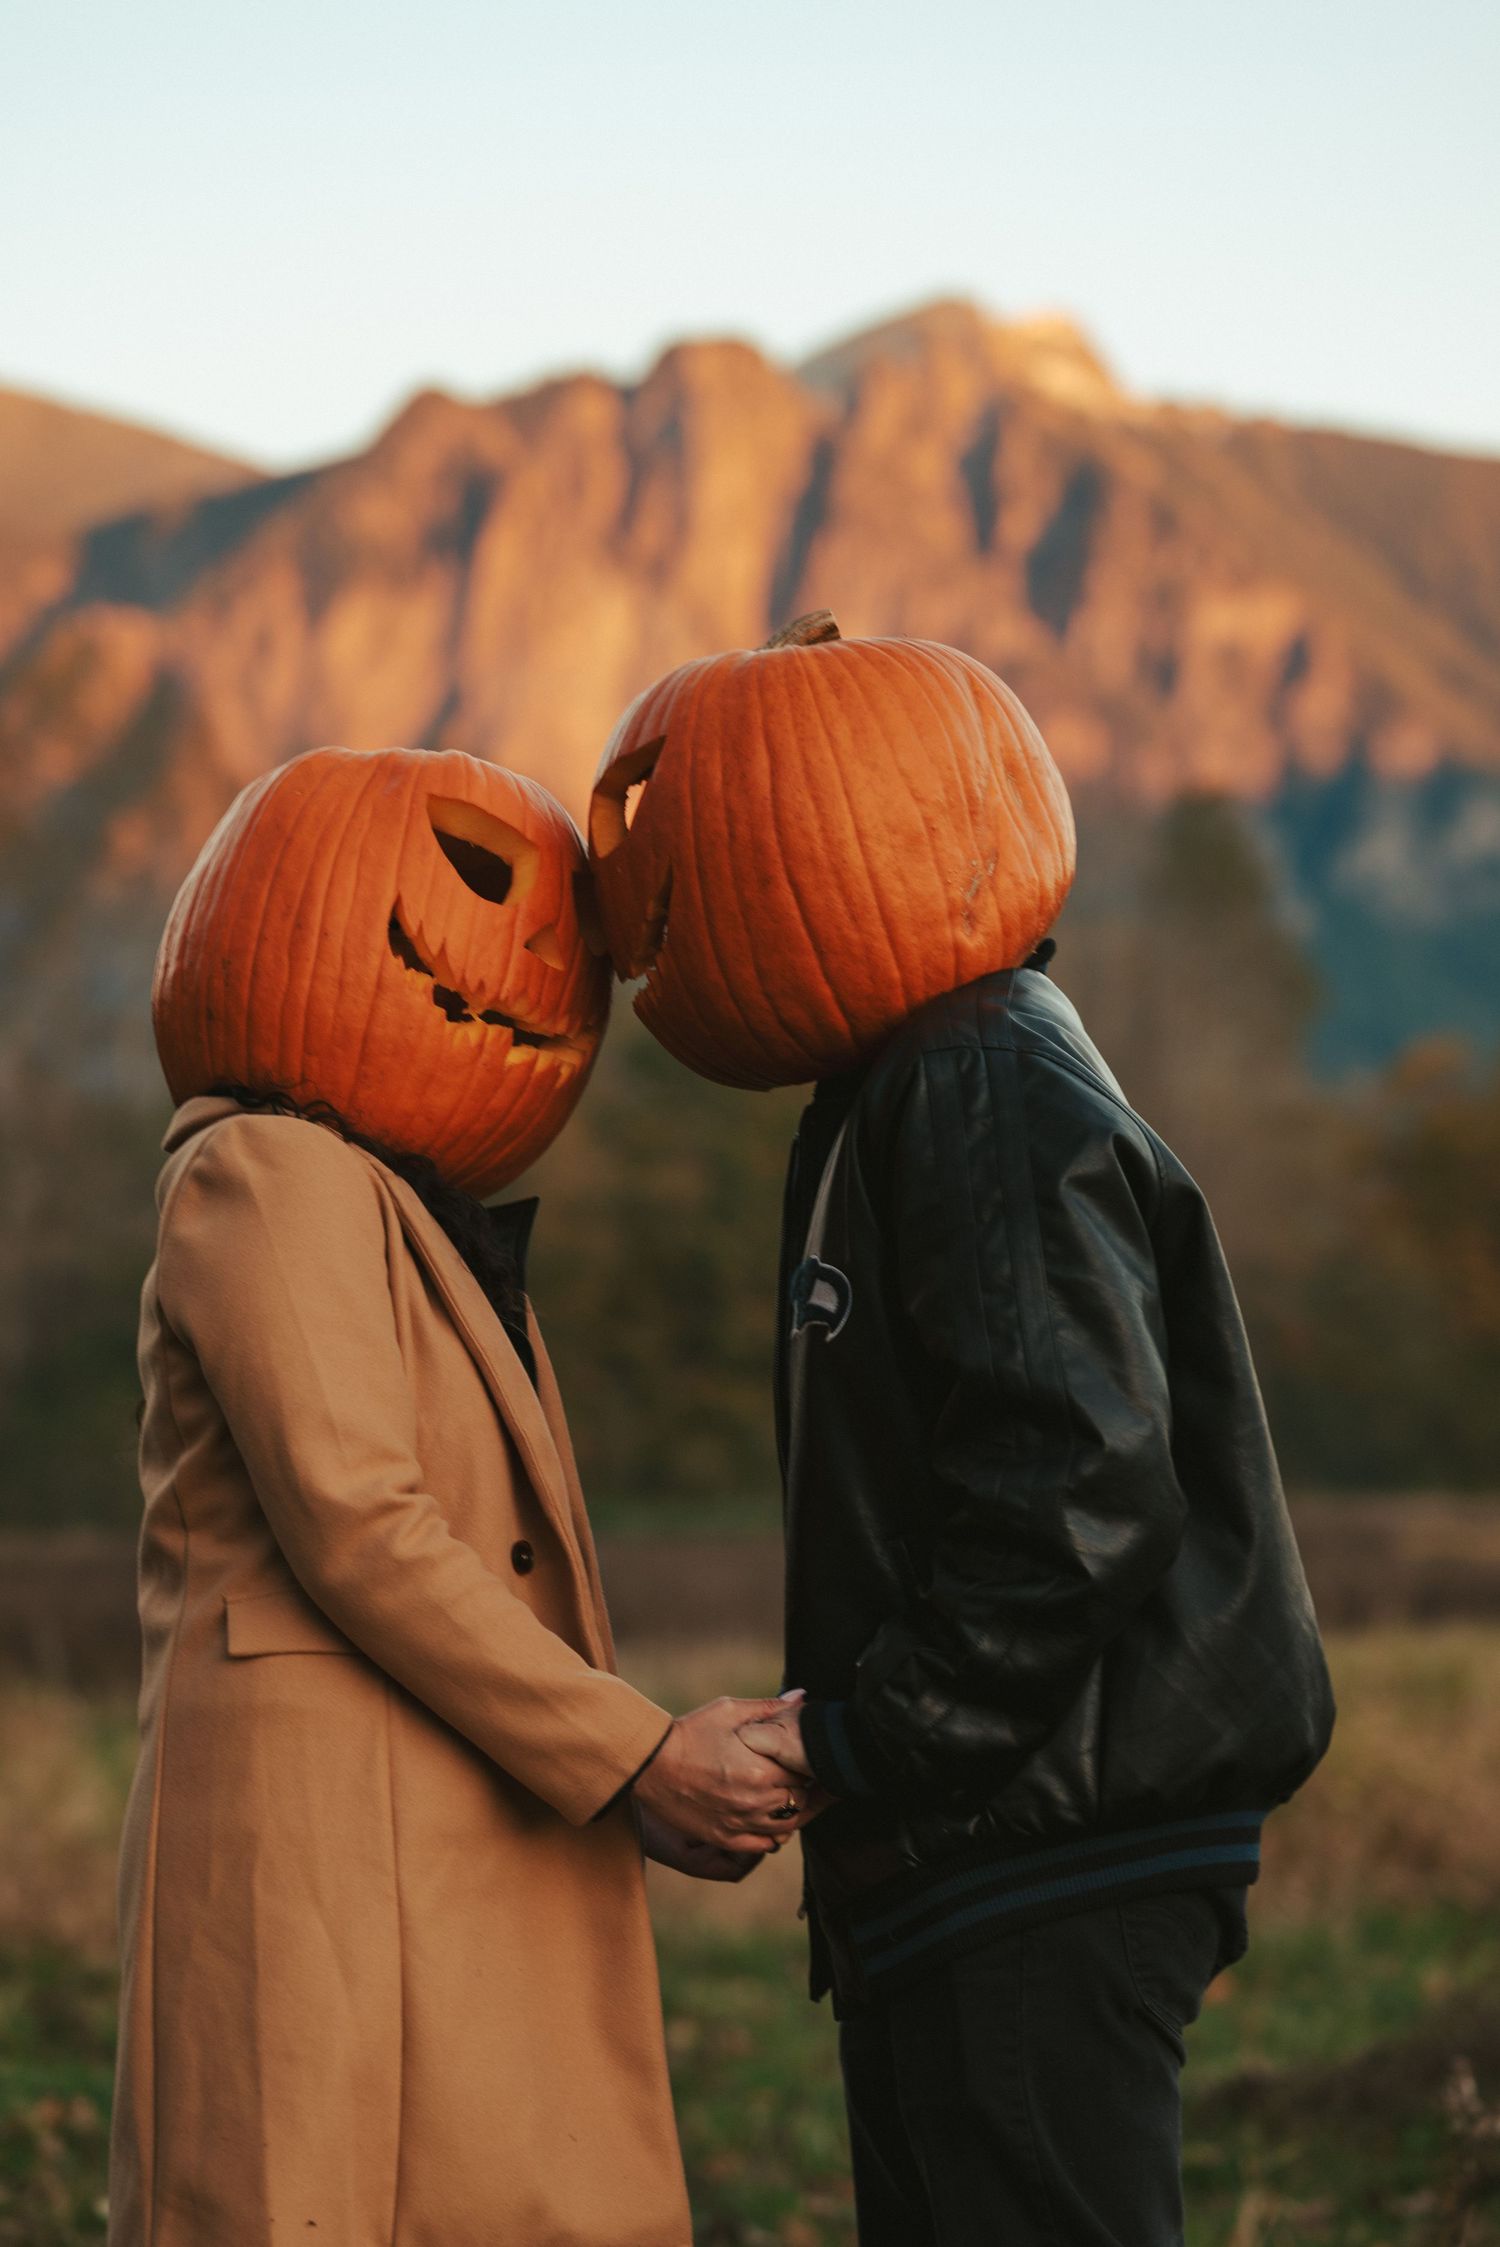
4. Mount Si Backdrop
Let’s be honest — a carved pumpkin looks even better with golden-hour light spilling over the mountains. This location is straight out of a fall postcard.
5. A Once-a-Year Opportunity
Pumpkin season is short. By the time you’ve thought about it, carved it, and grabbed your sweater, the season’s almost gone. This is your chance to make something so weird, so fun, and so uniquely you that you’ll want to frame it forever.
How to Pumpkin Head (DIY or Just Show Up)
1. Choose the right pumpkin
Pick one big enough to rest over your shoulders comfortably — measure for head space, then choose even larger just to be safe. A lighter pumpkin keeps things manageable.
2. Carve it like you mean it
Carve the bottom (not the top) to slip it on easily. Trim the opening gently and test for comfort — don’t rush this; oversized neck holes are fixable, but a cracked pumpkin isn’t.
3. Make it comfortable
Line the inside with foam or soft fabric to avoid sharp edges and condensation. Let it dry for a bit to prevent slipping.
4. Pick your vibe
Classic jack-o’-lantern smile? Creepy grin? Go monochrome with painted pumpkins and matching outfits for a bold look. Add personality with carved smirks, heart eyes, or even glow-in-the-dark paint.
5. Set the scene
Whether you’re in a misty forest, a brushed field, or in front of Mount Si at sunset, choose a backdrop that elevates the pumpkin drama. Bonus points for props like smoke bombs or fairy lights.
6. Snap the shot
Use a tripod or set your camera on a stable surface, use a timer, or rope in a friend. No tripod? A stack of books and a delayed shutter button works too.
7. Add creative flourishes
For extra flair, try smoke bombs or colored lighting for a dramatic, eye-catching effect.
8. Or skip the DIY and book me instead
Let me handle lighting, framing, and direction — so you can just carve, show up, and have fun. No setup stress, just autumn magic.